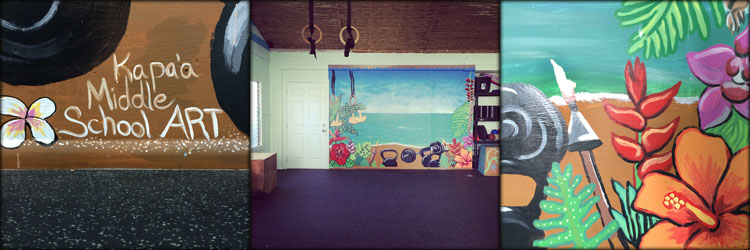
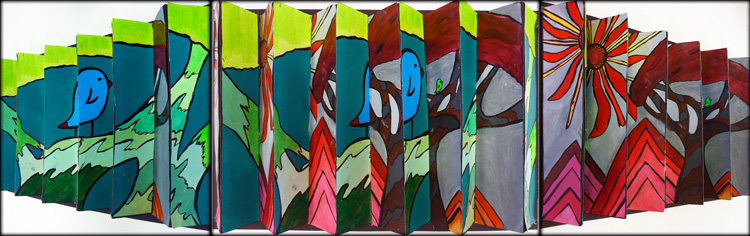
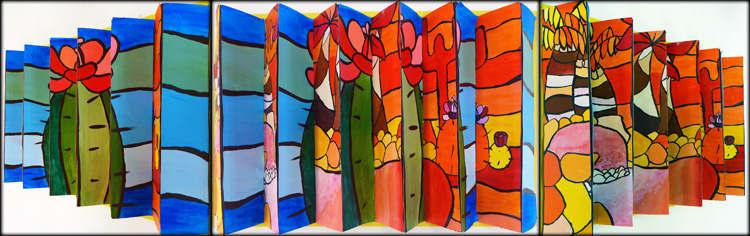
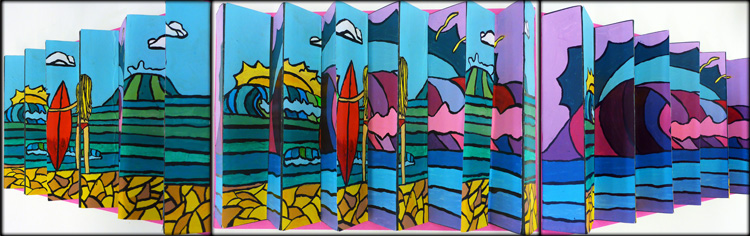
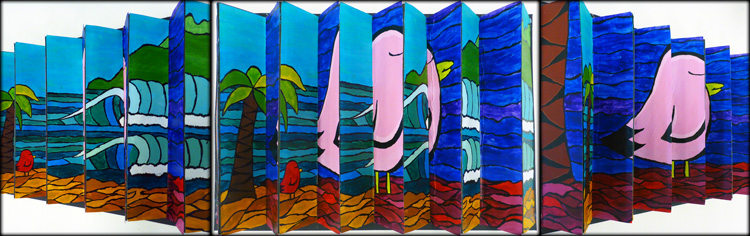
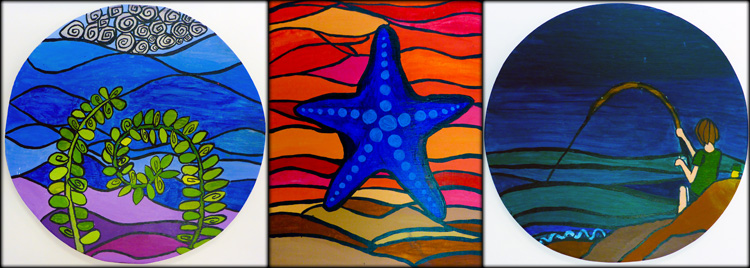
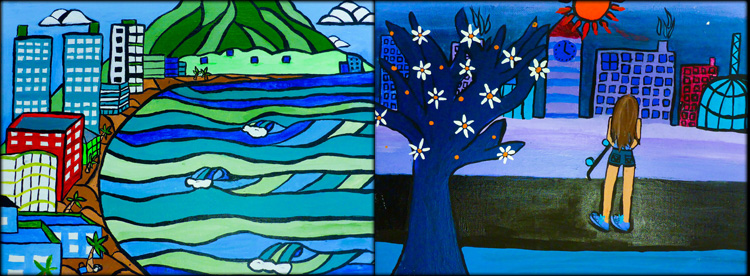
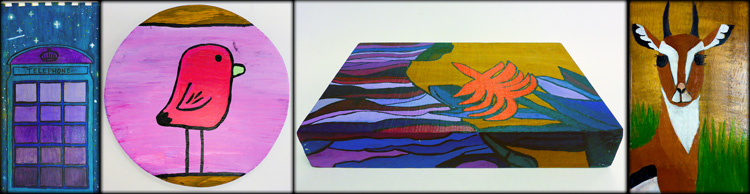
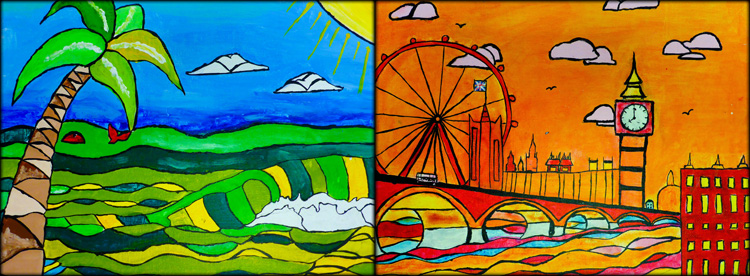
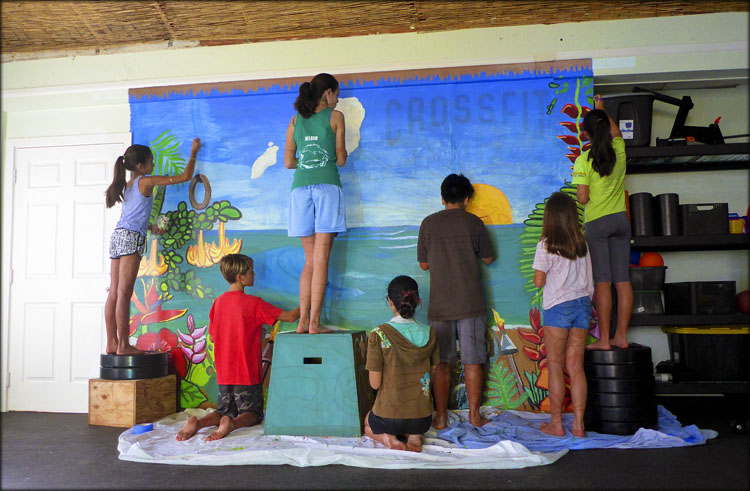
Mural for Crossfit Kapa’a

crossfitmural_03

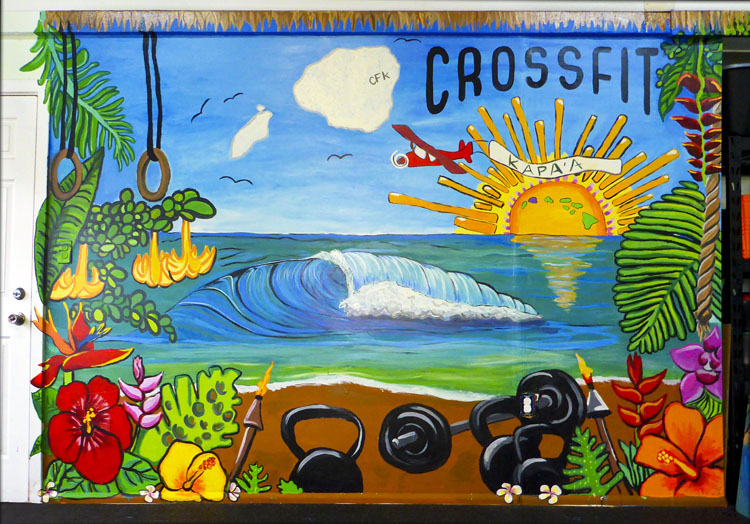
Kapaa Middle School art students contributed their talents by designing and painting a mural for local business, Crossfit Kapa’a. Business owner and coach, Charlotte Psailla, visited our class to talk about health, fitness, and propose her ideas for a mural.

crossfitmural_01

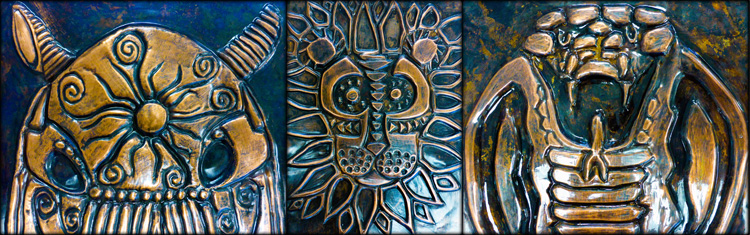
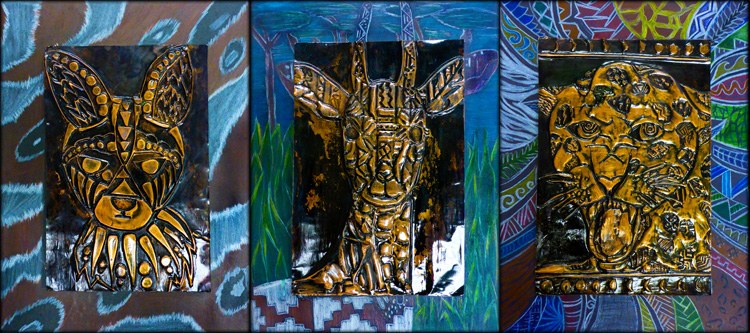
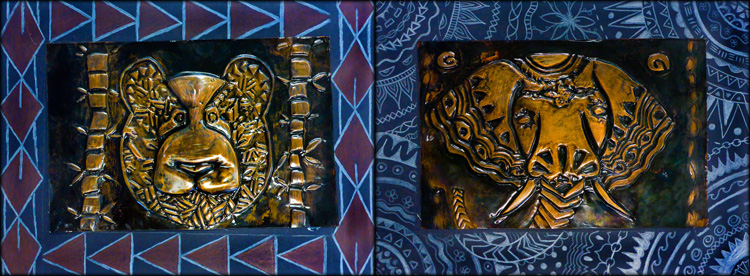
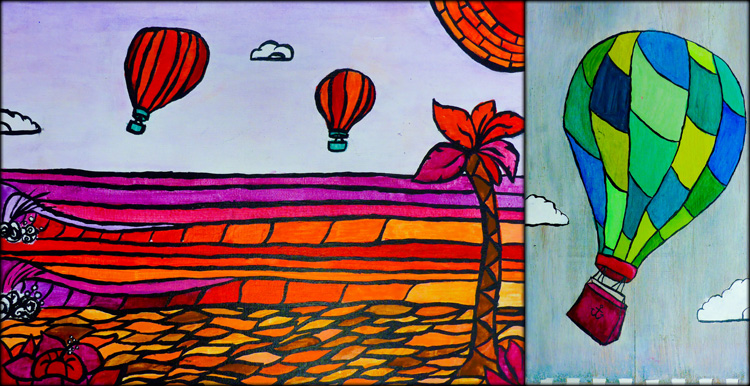
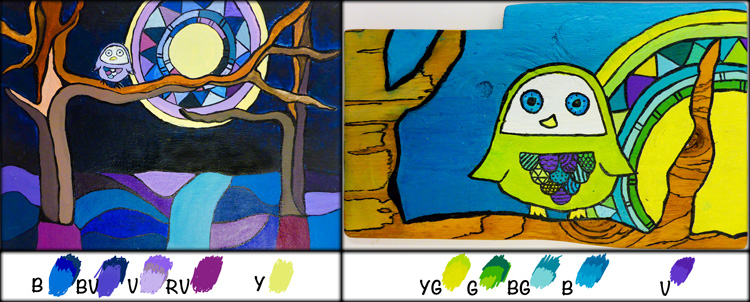
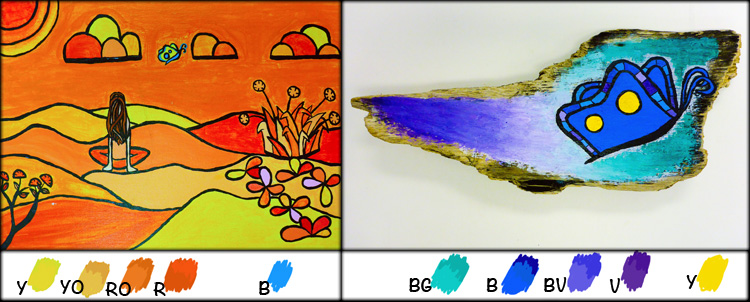
Students were challenged to design an image that captures the essence of Kauai’s Eastside beauty, Crossfit-style fitness, and the company’s logo. They worked in teams to generate ideas and sketch rough drafts which were later reviewed, revised and refined. The final image is a combination of the best elements from each group’s proposal.

crossfitmural_04

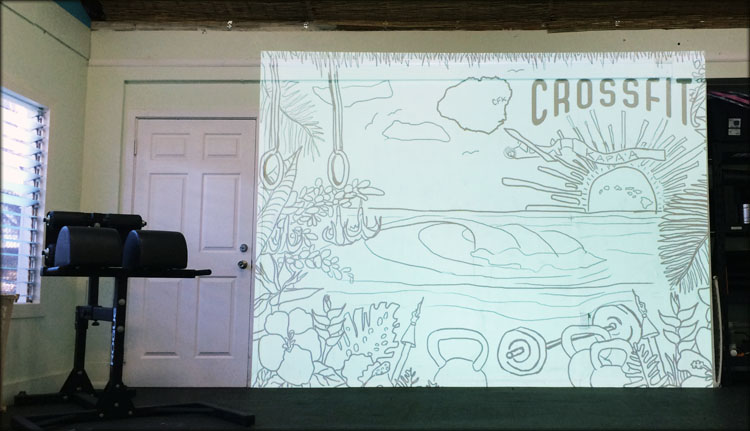
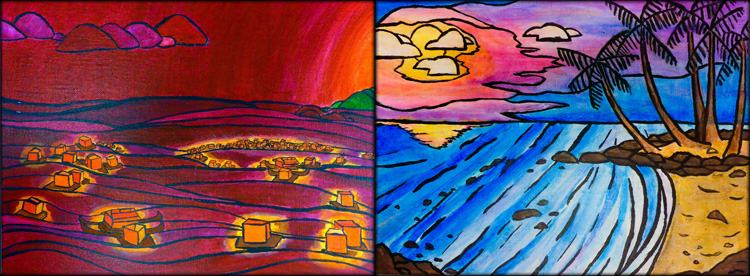
For an accurate enlargement, we projected a black and white version of the design on the wall while students painted. Beginning with underpainting and background colors, layers of color and details were added over several painting sessions. Dedicated student volunteers gave weekend hours to help complete the painting.

crossfitmural_02

Student volunteers were awarded with 4 sessions of free Crossfit Teens classes. Their efforts were also celebrated during a final “mural unveiling” party with all of the Crossfit community. This was a fantastic real-world application and service learning opportunity for Kapa’a Middle School art students. Thank you Crossfit Kapa’a for partnering with our students, and for your mission “To help Kauai’s residents and visitors alike enjoy the highest level of functional fitness through a supportive community, top quality coaching, and a safe facility.”

crossfitmural_05

Folded Book Scupture

book_03

The addition of a new 7th period literacy-focused class to my schedule inspired this folded book project. Luckily I had freedom to interpret the meaning of “Literacy” for myself and design my own Art-based curriculum. For our first project, each student folded a 3 to 4 letter word, and then wrote a blog post to explain the artistic process and choices.

book_01

Drawing inspiration from artist Isaac Salazar, students brainstormed a list of inspiring words. Many also selected a word that related specifically to reading, books, or learning. We discussed how certain books (specifically encyclopedias) are now being replaced with tablets and online technology. What better way to recycle old obsolete books than to transform them into a new sculptural art form?

book_04

Our school librarian donated a two sets of old encyclopedias for our project that worked perfectly! It helps to have a sturdy hard cover and lots of pages for folding, and I’m happy that these discards won’t be added to Kauai’s growing landfill.

Half Portrait

halfportrait_01

This lesson was so successful the first time, that I decided to bring it back again this year as an introduction to drawing the human face. First students practiced and developed skills to identify and map out guidelines for correct facial proportions. Next they learned shading techniques to create values ranging from the darkest shadows to the brightest highlights. All of this was done with a regular #2 pencil!

halfportrait_02

Portraits were selected from magazines and cut so that students had to draw at least half of the face. The original picture was also limited to the torso or shoulders up (no full body images), and needed to fill the whole page. This allowed students to focus on drawing the face.

halfportrait_03

While many students searched through magazines to find an interesting or inspiring image, I provided photocopies of a few local Kauai surf heroes to choose from as well. Pictured above are Alana Blanchard and Leila Hurst, while the bottom images include Sebastian Zietz and Andy Irons. Other local surfing professionals included Dustin Barca, Bethany Hamilton, Malia Manuel and Evan Valiere.

halfportrait_04

Students really seemed to enjoy this lesson, and several students chose to draw more than one. I may bring this lesson back in the future with a different photo inspiration, like a “selfie”!

halfportrait_05

Mandalas

mandala_01

The first project of the 2014-2015 year for Kapa’a Middle School’s art students was to create a mandala design that would also be used for their sketchbook covers. This multimedia lesson served as an introduction to radial symmetry and repetition of line and shape.

mandala_02

The underlying colorful circles were created by brushing liquid watercolor onto a paper spinning on the pottery wheel. Although it isn’t clay, this gave students an opportunity to use their all-time favorite tool!

mandala_03

Starting from the center, bands of watercolor were applied until students reached the outer edge of the paper. Students also created interesting streak and drip affects by blowing the wet paint through a straw while the wheel was spinning.

mandala_07

Once the watercolor paint was dry, students used colored pencils to draw a mandala on top of the colorful background. Tools such as rulers, compasses, and circular objects helped to create accurate lines and spacing.

mandala_04

Students also enjoyed learning about the symbolism, history, and cultural practice of mandala creations. They were especially fascinated by Tibetan sand mandalas, and puzzled about why the artists would eventually destroy the intricate design they so painstakingly created.

mandala_05

Finally, students incorporated inspirational quotes or affirmations to inspire them every time they look back on their mandala design.

mandala_06

Treehouse in 2-Point Perspective

treehouse_01

The final project for Kapaa Middle School Art students this year was to fold and decorate a large portfolio to carry a year’s worth of Artwork home safely. With only a few school days left, I decided to squeeze one more foundational drawing lesson in and teach the kids 2-point perspective.

treehouse_02

Students used rulers and pencils to map out two vanishing points set on a horizon line. Together we drew a small group of cubes to which we added roofs, doors, shingles, and other features.

treehouse_04

After sketching about 3 different house structures, we incorporated the tree and branches that support the treehouse. At this point students broke free from my step-by-step tutorials and added their own creative and unique details such as rope ladders, lanais, zip lines, hot tubs, and slides.

treehouse_03

Due to the rushed nature of this last assignment, I don’t have many finished examples to share. Several students promised to finish what they started over the summer break. I hope they follow through on that promise because these tree houses are Treemendous!

Acrylic Agamographs

agamograph_01

This year Kapaa Middle School Art students experimented with a variety of surfaces and display options for their paintings. While some students worked on canvas and wood for their ACRYLIC LANDSCAPES, others opted to create a 2-way painting called an Agamograph.

agamograph_02

The examples pictured here show 3 views of the same project:
– The center view shows two separate images converging.
– From the angled views on either side, the viewer sees only one image.
The complete composition comes to life only as the viewer physically moves from one side to the other.

agamograph_04

To accomplish this magical illusion, students first created two acrylic paintings on paper. The first painting was a stylized landscape using analogous colors, while the second included a close-up detail from the first landscape in a different analogous color scheme.

agamograph_05

Once the paintings were complete, students measured, numbered, and carefully cut both paintings into 2″ strips. The strips were then glued to an accordion folded board. While our final Agamographs became two-way paintings, instructions for a 3-way version can be found on the Art-Rageous website.

agamograph_06

Agamographs are named after Israeli artist, Yaacov Agam, who was a pioneer creator of the kinetic art movement. Students were intrigued by his large-scale sculptural work and abstract style. By following in Agam’s footsteps, students learned a new way to actively involve the viewer in their artwork.

agamograph_03

For anyone who might want to replicate this project, it can be accomplished with a variety of 2-dimensional media, including photography, ink drawings, colored pencil, or oil pastel to name a few. I recommend selecting a subject for each image that relates in some way or creates a duality. Visual contrast between the two images also enhances the transformative effect. Feedback is always welcome! Comment with any questions and let me know what you think!

Getting Crafty at Camp

campsloggett_01

I was so thrilled when the 8th grade team invited me to lead a craft activity at the 8th grader’s annual Camp Sloggett excursion. Mr. Sanderl and I packed up our tent and prepared for 2 days of Koke’e camping with 120 middle schoolers! Check out Mr. Sanderl’s 2014 KMS KOKEE TRIP video on Vimeo for highlights.

campsloggett_02

The craft I chose is one that I remember from my own summer camp days at Miracle Ranch in Gig Harbor, Washington. In fact, that was probably the last time I made knotted friendship bracelets! Breathing the fresh mountain air, sharing a fun craft from my childhood, and bonding with the kids made camping one of this year’s highlights.

Exotic Animals

copper_01

Copper Tooling has become a favorite medium that I bring back every year due to popular demand. Although the same techniques are employed, I always change the project theme to keep things interesting. In past years we explored abstract designs with colorful borders, and Hawaii’s endangered species. This year’s theme involved exotic animals from lands far away.

copper_02

This art teacher believes in research and planning before launching in to any major project, and copper repousse is no different. We spent two full lab days exploring various animals, sketching ideas, and taking notes on common names, species, habitat, and interesting facts.

copper_04

Once a basic contour of the exotic animal face was established, students filled it in with designs and textures. For ideas I had them enter “zentangle animals” into their search browser. Stylizing the frontal image and adding additional texture to the face resulted in a much more complex and interesting design.

copper_05

A final drawing on paper followed the sketchbook planning activities. This drawing was transferred directly onto the copper foil, leaving a slightly indented image. The longest and most labor-intensive part of this project involved tooling and chasing techniques to create a 3-dimensional relief using wooden tools to rub and stretch the copper.

copper_03

Final steps included antiquing the copper with liver of sulfur, polishing with steel wool, and protecting with a high gloss acrylic varnish. For display, students used colored pencils on black railroad board to finish the composition with a creative border.

Acrylic Landscape

landscape_01

KMS Art students each created two acrylic paintings this Spring. The first painting was a landscape of their choice, while the second included a close-up view of one small detail selected from their original landscape. Each painting was designed with a different analogous color scheme that needn’t resemble real-life.

landscape_02

The paintings above and below demonstrate the analogous color study, which involved selecting a group of 4 colors adjacent to each other on the color wheel. Aside from one small highlight color outside of the analogous scheme, students were limited to this small range of hues to which they could tint, tone, and shade (creating value scales from dark to light by adding black, white, and gray).

landscape_09
Additionally, neutrals such as black, white, gray, and brown were used to accent the more vivid hues. The color scheme for this project required students to become very familiar with their color wheels, encouraged A LOT of paint mixing, and invited a unique perspective of the landscape.

landscape_03

Students were introduced to the work of artist, Heather Brown, who’s signature style includes simplified shapes, bold black outlines, and Hawaii’s local surf spots. Like Heather Brown, students simplified and stylized their landscape on 9 X 12″ canvas board.

landscape_04

Students were also inspired by Spencer Reynolds, who often paints seascapes on surfboards and driftwood. For the detail painting, students used acrylic paint on a scrap of wood. Some chose to leave part of the woodgrain exposed and unpainted to incorporate the texture and linear wood patterns within their design.

landscape_05

The landscapes students chose to paint ranged from their favorite spots on Kauai to far-off destinations that they hope to visit one day. Before settling on a design, students spent time researching various landscapes including urban environments, forests, mountains and beaches.

landscape_08

Analogous color schemes generally create serene and comfortable designs, are often found in nature, and are harmonious and pleasing to the eye. Students began with one dominant color, selecting 3 others on either side of the color wheel to support.

landscape_07

Painting guidelines for the landscape included:
1. Stylize, flatten and simplify shapes
2. Add extra details to the edges and corners for framing and interest
3. Use layering and scale to create a sense of depth
4. Include black outlines to separate many areas of color value

landscape_06

Ceramic Tiki Sculptures

Kapa’a Middle School’s Art students finished their tiki sculptures with either a pure white or natural brown glaze.  By limiting to one glaze color, the emphasis of this 3-dimensional work remains  the carved textures, modeled form, and sculptural details.

2

In addition to expressive tiki characteristics, some students chose to include added symbolism to represent a specific hawaiian tiki god or their own special meaning.

1

While mainly decorative, the tikis can also serve a variety of functions, from garden art, candle holders, incense burners, or creative containers to hold knick-knacks.  Melted colorful class at the base adds a colorful surprise when you look inside!

The sculptures pictured here are only a few samples to represent a range of students from 6th, 7th, and 8th graders selected from all of my classes.  In all there are 170 tikis that required a total of 500 lbs of clay, 5 gallons of liquid glaze, a number of kiln loads, and 4 months to complete!

3